How to draw a caricature
Difficulty level: Easy
Materials required: Strathmore 400 Series paper, HB pencil, 2H pencil, eraser, photo of person whose portrait is planned to be drawn.
As it turned out, I like drawing. I have discovered this interest not long time ago so to draw something or pretty much anything, was quite challenging. Soon after I have found my new passion, I have started to wonder how to draw human portraits, because it does not look like an easy thing to do. And then I just have chosen one photo of my friend and tried to copy her facial features on the paper. I have been spending hours on my first “master piece” and as more realistic features I have attempted to convey as more ludicrous they have got. And that’s how by accident, I have been introduced to caricature art.
Now I will share some of my observations and knowledge how to draw a fast caricatural sketch.
Step 1
Drawing from picture seems to be much easier than drawing from live model, so I have chosen good image of my brother-in-law (Thanks God, he has sense of humor).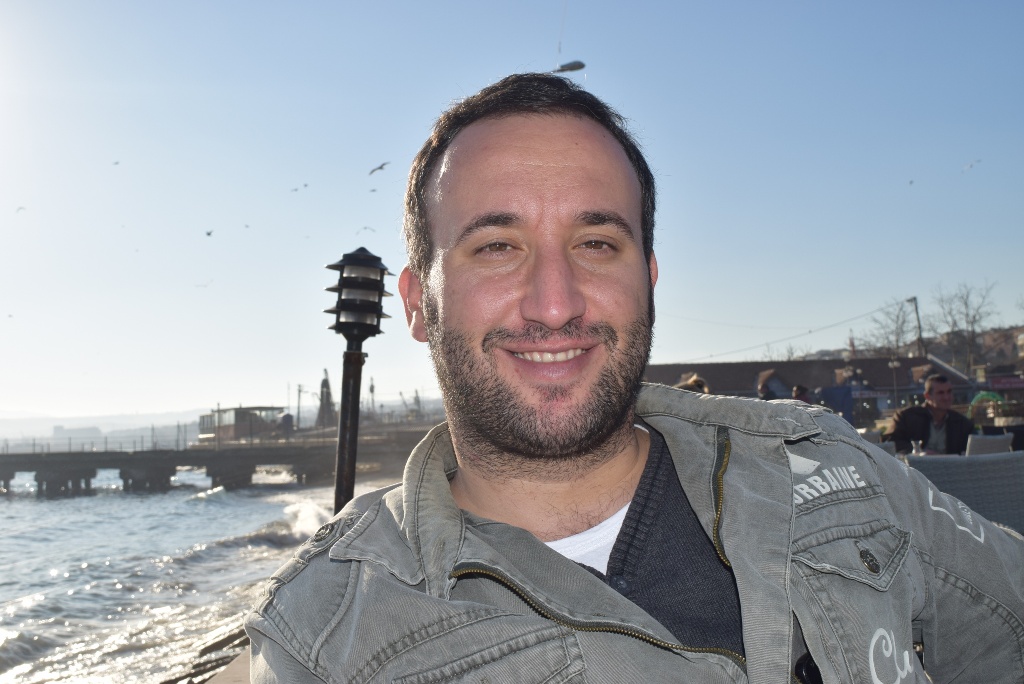
By choosing ‘good image’ I mean picture where I can clearly see small facial details like wrinkles, dimples, even dark circles as well as lights and shades – everything what I can play with to exaggerate and to minimize.
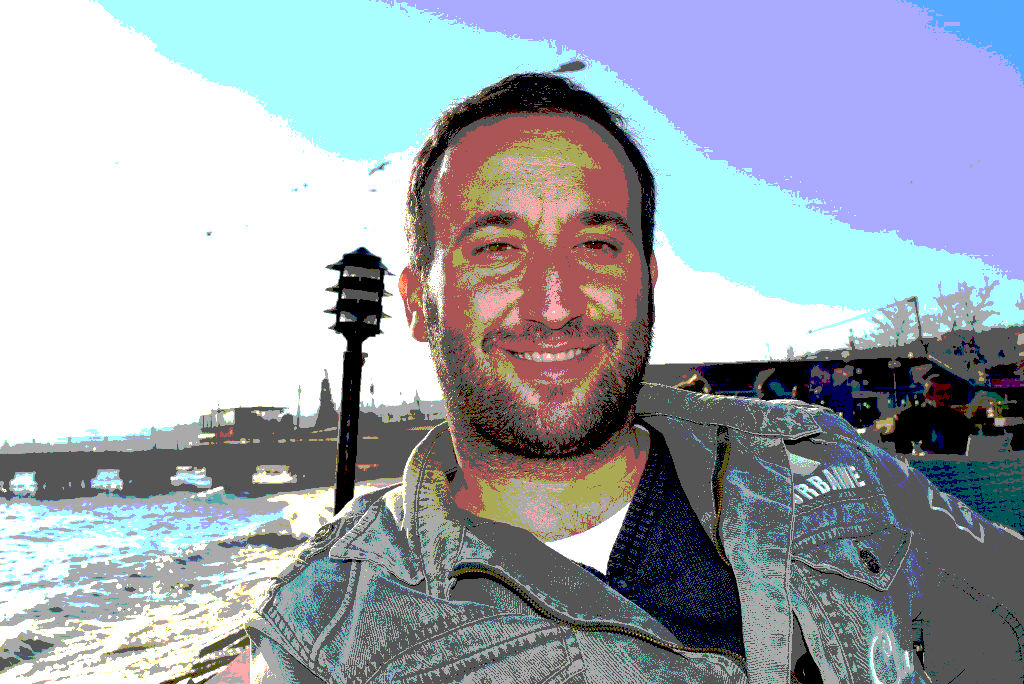
This is one a little trick, if it feels that drawing from original image will be too hard for the first timers. Using black and white filters and Posterize feature under Adjustment menu in Photoshop, will reduce visual information and leave more contrast forms. It is easier to draw shapes than singular lines.

But honestly, in this case, I have decided to stick with original image; it seems to be pretty informative shades wise.
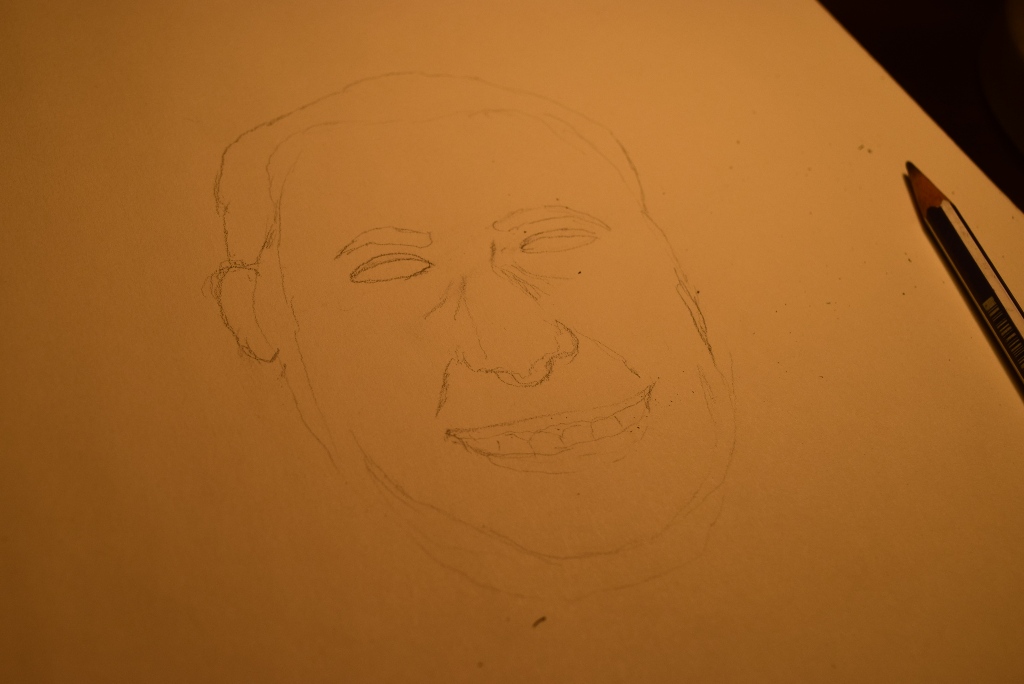
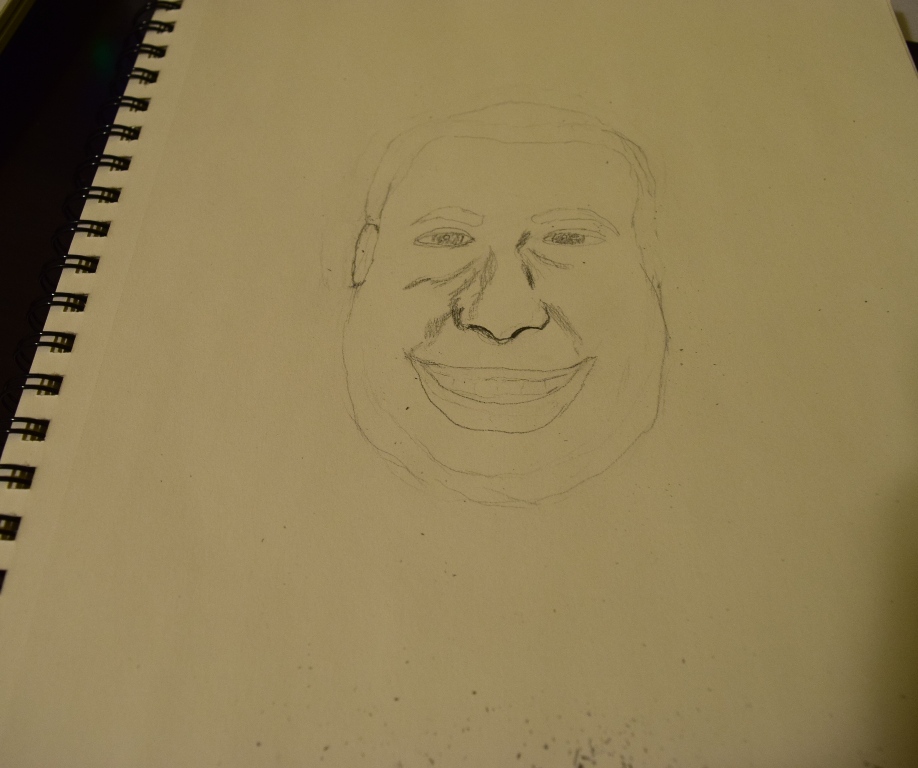
Step 2
Now, looking at the image on the screen, I will make quick oval sketch to just convey general idea of face: drawing eyes, eyes brows, nose and mouth, ears and hair.
Step 3
Due to the fact that it will be a caricature, not a portrait, I can freely play with some protruding facial features. Well, this man has pretty big nose already so I have just left it the way it is. I want to make him look chubbier and even fatter and exaggerate his big smile that makes him grinning like a Cheshire cat. To reach this result I have to erase original chin and to draw 2 wider lines instead. So now my model has got enormous chin he has never dreamed of. Also, I correct his lips by pulling their corners upper and setting them up a little beyond the cheeks’ lines. That will give my brother-in-law the chance to star in Alice in Wonderland. To get his eyes alive and vivid, I simply draw pupils inside of empty eye socket.
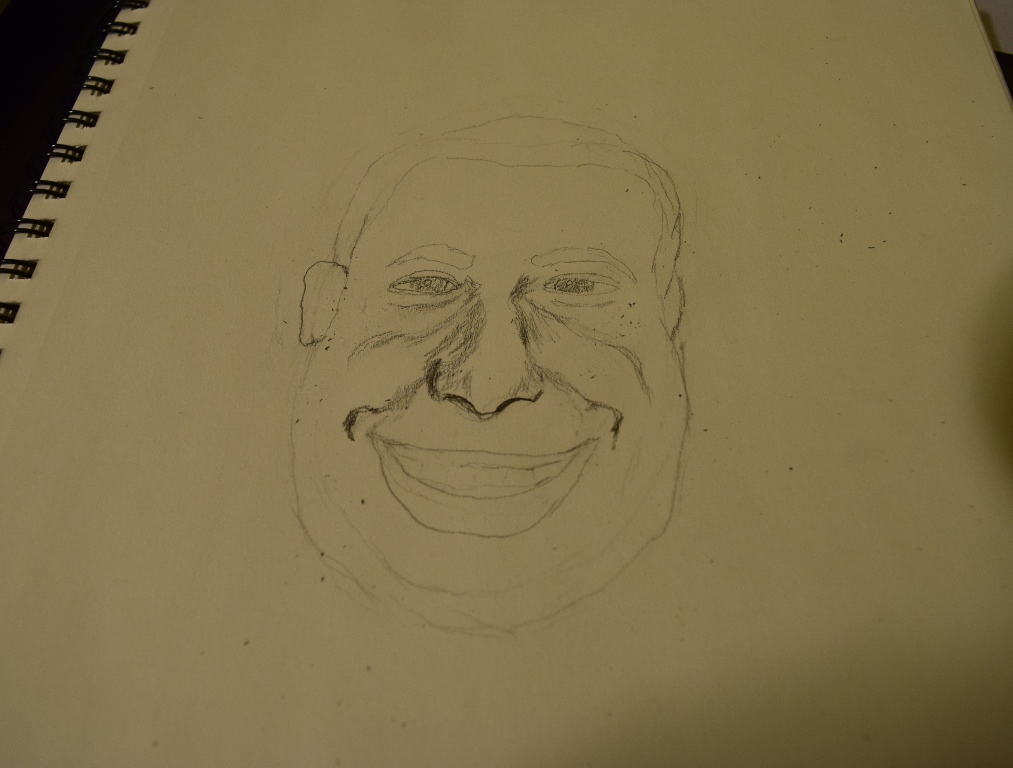
Step 4
This step includes nose lines enhancement: outlines need to get bolder comparing them to the image in step 2. However, to present shadows on the left and right side of the nose, I need to apply parallel lines stroke in light tone (2H pencil would work great, but it is not necessary, I have done all sketch with the same pencil). This stroke helps the image to get more 3-dimensional than it used to be. Also I underline cheek lines to make them more dominate.
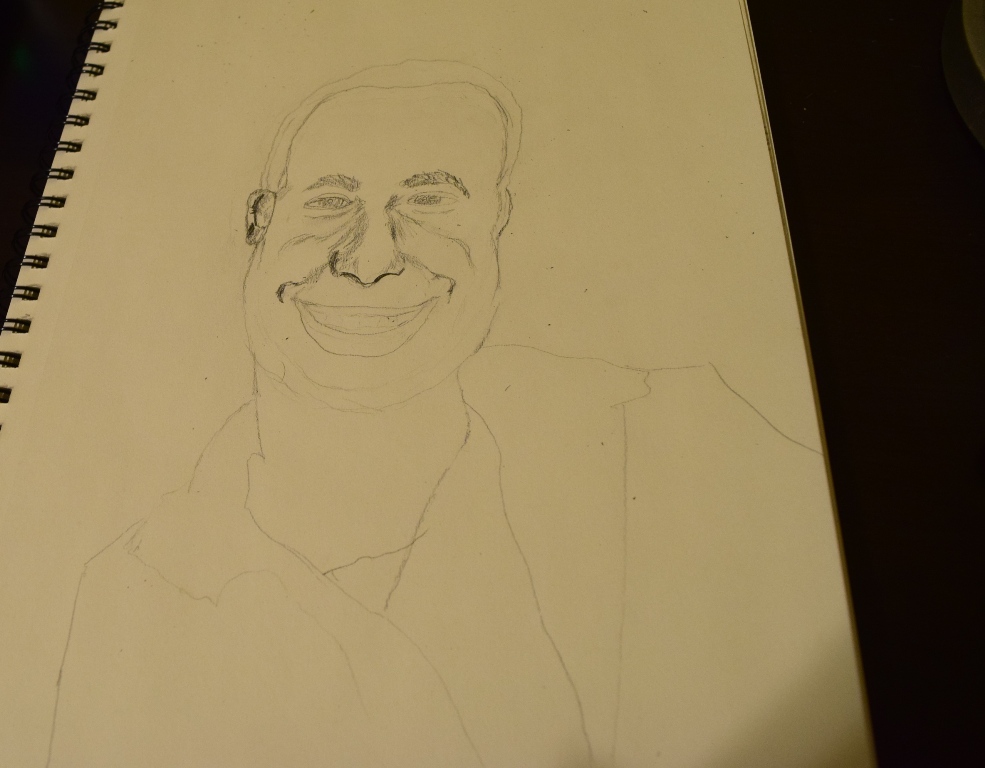
Step 5
This quick step involves neck drawing and outlining clothes items. On the top of it, I add some shades in his auricle to give it more realistic look. Therefore, I fill his eyebrows using parallel lines stroke technique. The only difference is dark tone applied instead of light.
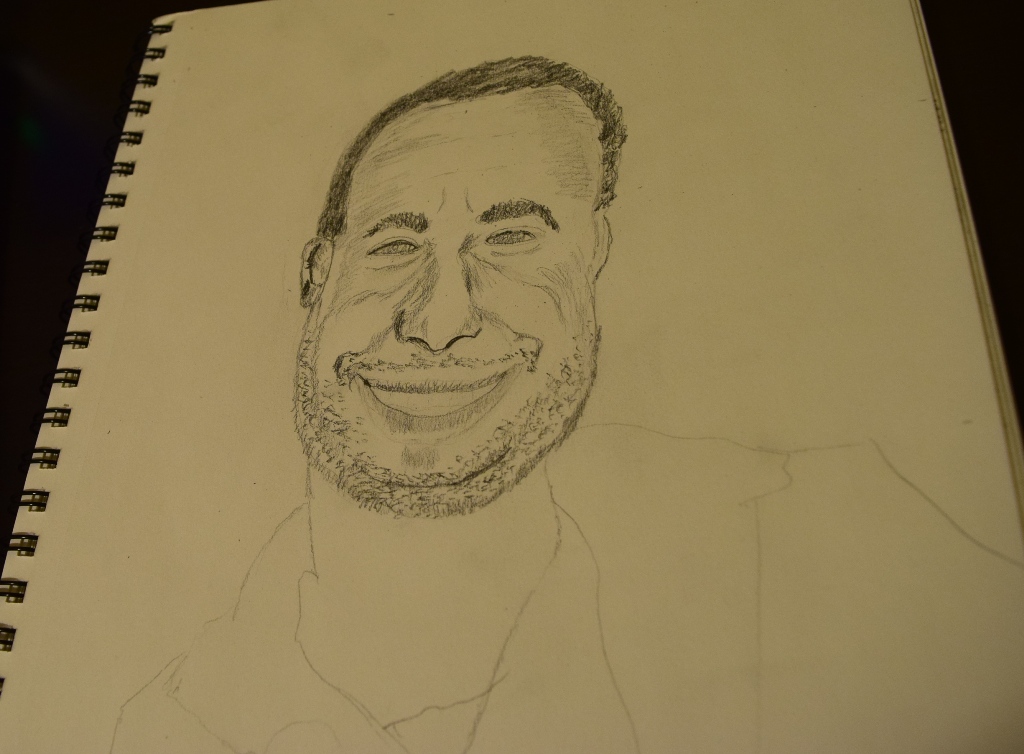
Step 6
Now it is time to look closer at his forehead. It definitely needs shadows on the both sides as his nose to get more prominent. I use the same shading technique for it. Shading is basically the most important and time-consuming part of the sketch because it helps to portray peculiar facial features of chosen model. That’s why I need to execute it as more precious as I can and to do that I keep original image in front of me all the time I draw. After finishing shading of forehead I work on his chin(s) and draw short beard with hatching strokes. And finally, I use the same hatching stroke style for his mouth. However, strokes are not straight this time, but radial because of I need to show volume of his lips.
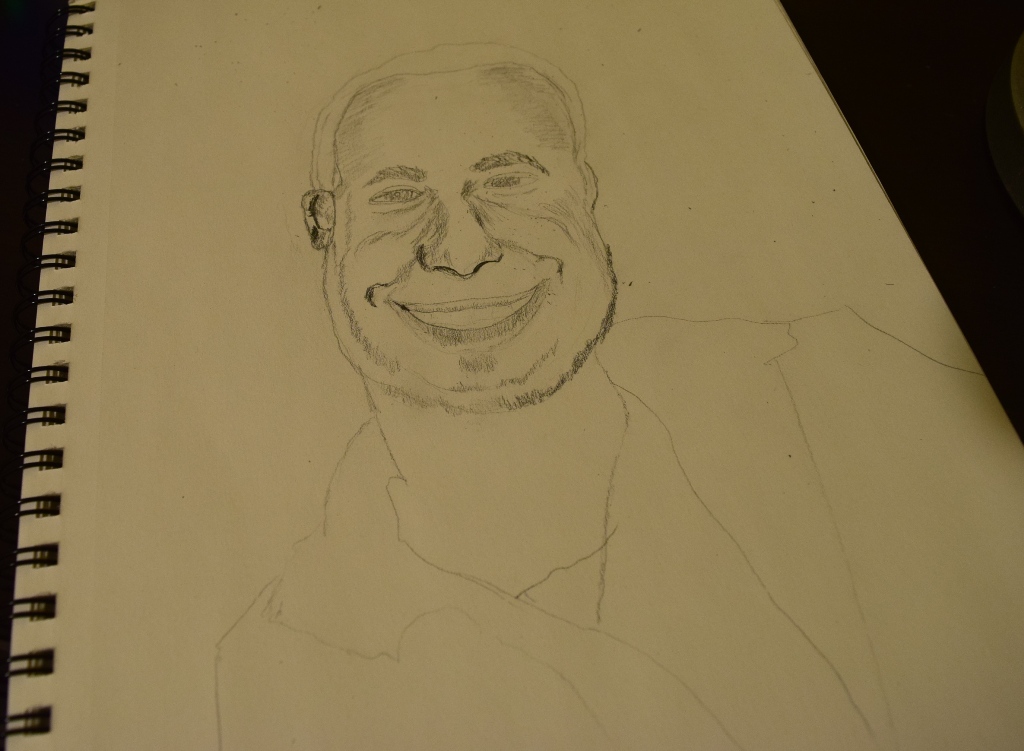
Step 7
I keep on working on model’s lower part of the face, and use stippling stroke technique to convey texture of his beard. After doing that, I return to his hair and by parallel strokes again I fill entire outlined space. Also, I add few wrinkles on the forehead; emphasize eyes by making lines of eyelids bolder and hatching pupils darker.This gives the model more natural look.
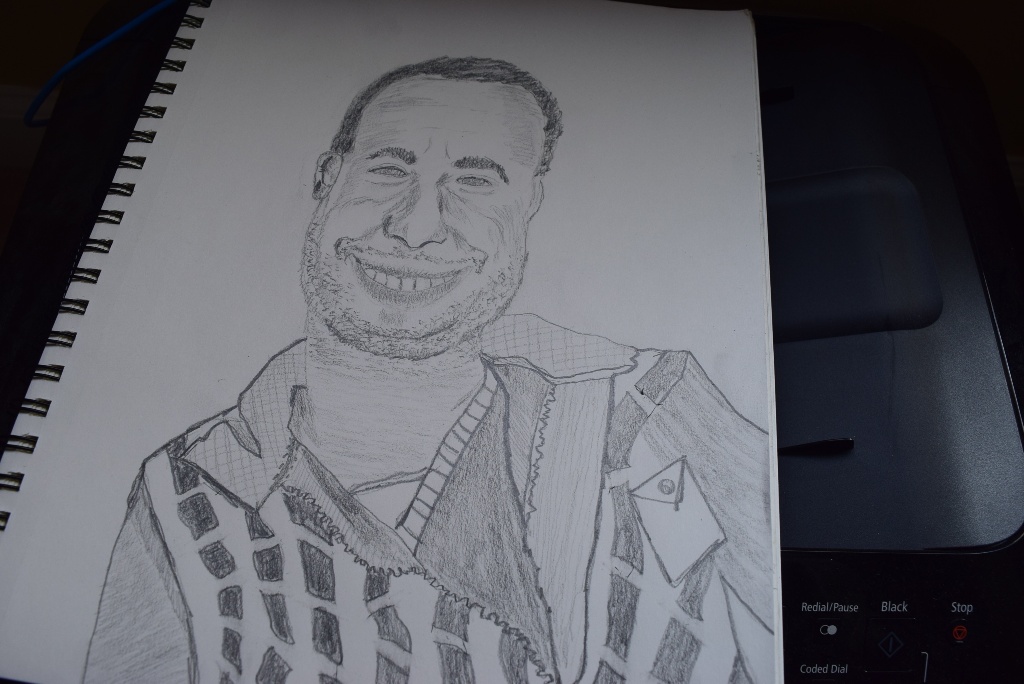
Step 8
Here, I simply draw more details of him clothes items. It absolutely doesn’t have to be the same as shown on original picture. I just draw collar of his T-shirt and outline his jacket with zip on it.
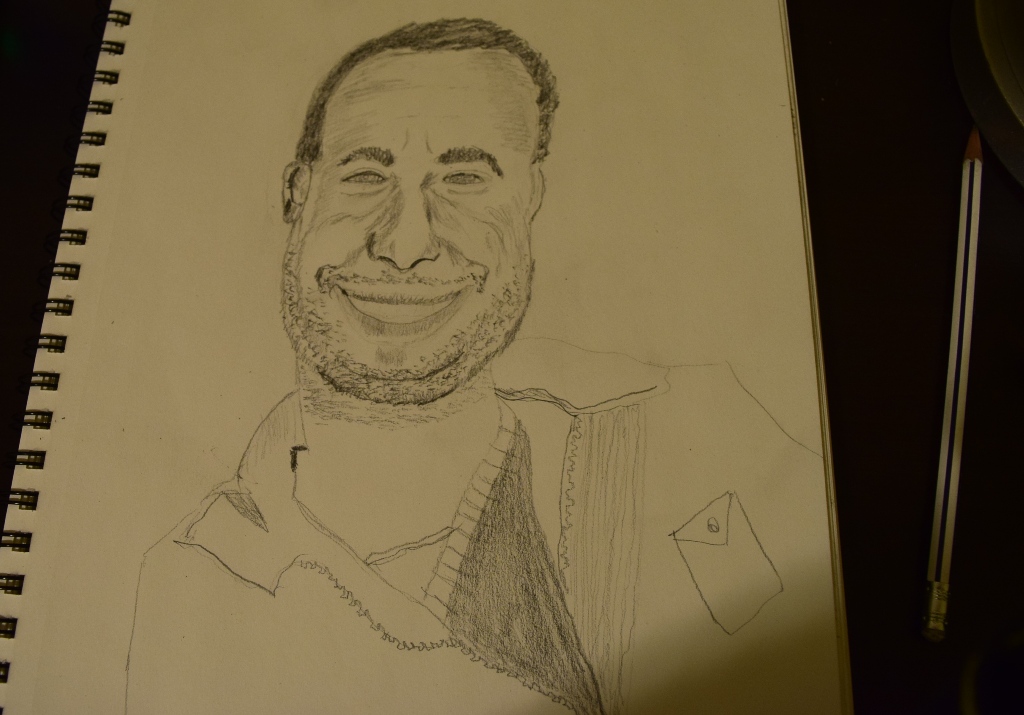
Step 9
And finally, I draw teeth so smile will stand out and add some different vivid shapes on his jacket. Therefore, I slightly crosshatch collar, darken outline of clothes items, paying attention on folds, filling light spaces with light tone strokes and shades with dark tone. And… voila!! Here he is, all jazzy and happy!